2. Python Virtual Environments
Virtual environments are a foundational aspect of professional development, allowing developers to isolate and manage packages and dependencies specific to individual projects or tasks. This isolation is crucial in maintaining a clean and organized development workspace, as it prevents conflicts between packages used in different projects. Furthermore, virtual environments ensure that projects are reproducible and can be shared with others without compatibility issues, as all the necessary dependencies are clearly defined and contained within the environment.
Different Tools for Python Environment Management
venv: built into Python 3.3 and later. (Recommended)Anaconda: third-party tool popular in data science.renv: renv package helps you create reproducible environments for your R projects.
Best Practices for Environment Management
Creating a New Environment for Each Project: This ensures that each project has its’ own set of dependencies.
Documenting Dependencies: Clearly list all dependencies in a requirements file or using a tool that automatically manages this aspect.
Regularly Updating Dependencies: Keep the dependencies up-to-date to ensure the security and efficiency of your projects.
Recommendations on the Yens
We highly recommend using venv, Python’s built-in tool for creating virtual environments, especially in shared systems like the Yens. This recommendation is rooted in several key advantages that venv offers over other tools like conda:
Built-in and Simple:
venvis included in Python’s standard library, eliminating the need for third-party installations and making it straightforward to use, especially beneficial in shared systems where ease of setup and simplicity are crucial.Fast and Resource-Efficient:
venvoffers quicker environment creation and is more lightweight compared to tools likeconda, making it ideal for shared systems where speed and efficient use of resources are important.Ease of Reproducibility:
venvallows for easy replication of environments by using arequirements.txtfile, ensuring that the code remains reproducible and consistent regardless of the platform.Terminal Agnostic:
venvallows you to work across various terminals—including JupyterHub, Linux Terminal, and Slurm—from a single unified location
Creating a New Virtual Environment with venv
Let’s navigate to a project directory:
cd <path/to/project>
where <path/to/project> is the shared project location on ZFS.
Create a new virtual environment:
/usr/bin/python3 -m venv venv # Note venv is a customizable name
where we make a directory venv inside the project directory.
Activating a New Virtual Environment
Next, we activate the virtual environment:
source venv/bin/activate
You should see (venv): prepended to the prompt:
(venv):
Check Python version:
which python
/path/to/env/venv/bin/python
Installing Python Packages within the New Virtual Environment
Install any python package with pip:
(venv) $ pip install <package>
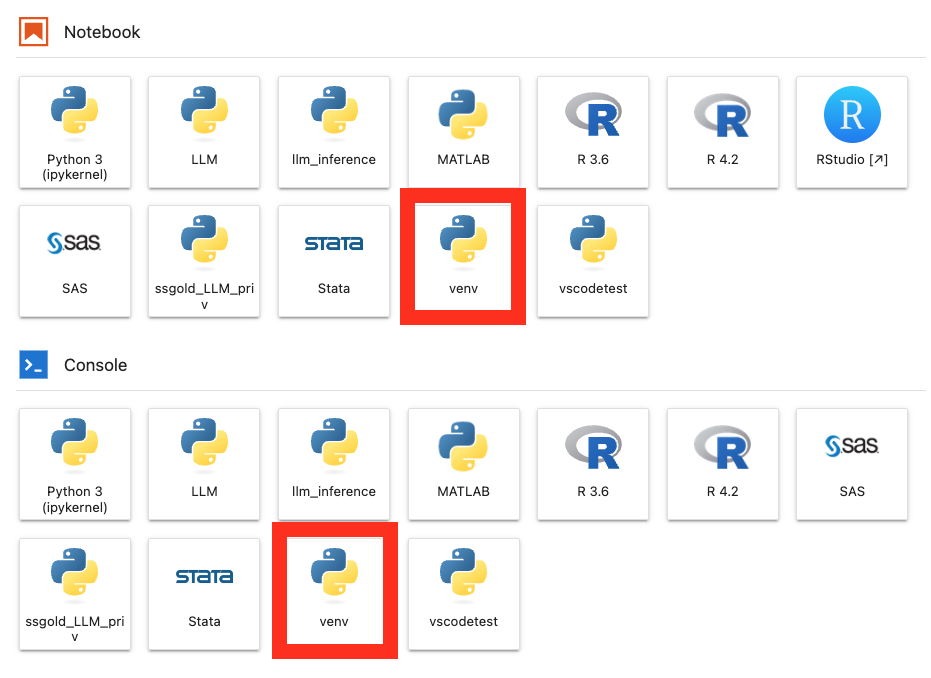
Making the Virtual Environment into a JupyterHub Kernel
Install ipykernel package before installing the new environment as a kernel on JupyterHub:
(venv) $ pip install ipykernel
To add the active virtual environment as a kernel, run:
(venv) $ python -m ipykernel install --user --name=<kernel-name>
where <kernel-name> is the name of the kernel on JupyterHub.
Example
(venv) $ python -m ipykernel install --user --name=venv
Sharing the Environment
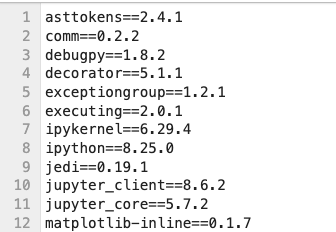
Environments can get quite large and take up lots of space depending on the project. An easy way to share them is you share the requirements.txt file which is a list of all the libraries and versions.
(venv) $ pip freeze > requirements.txt
This will be different depending on which packages you install and can help users run the code you developed using that environment.
To then replicate an environment you need to perform the following steps:
$ /usr/bin/python3 -m venv new_venv # Create the new environment
$ source new_venv/bin/activate # Activate the new environment
(new_venv)$ pip install -r requirements.txt # Install the packages
Once the virtual environments are created they SHOULD NOT be moved. This will break the environment and you may need to recreate it.
Deactivating the Virtual Environment
You can deactivate the virtual environment with:
$ deactivate
Removing the Virtual Environment
If you created a Jupyter kernel you will first need to remove that with the following command from your home from within your virtual environment
(venv) $ jupyter kernelspec uninstall venv
If you would like to delete the previously created virtual enviroment, simply delete the environment directory since venv environment is essentially a directory containing files and folders.
$ rm -rf venv
Exercise
- git clone the repository
git clone https://github.com/gsbdarc/intermediate_yens_2024.git - Navigate to
examples - Create a new virtual environment named venv
- Activate the environment
- Install the packages in
requirements.txt
Click for answer
$ cd examples
$ /usr/bin/python3 -m venv venv
$ source venv/bin/activate
(venv) $ pip install -r requirements.txt